wsl: setup
a documentation of how to get a similar or better setup than me using the windows subsystem for linux (v1) as a development environment.
i run this off my surface pro 7, and so long as I keep the majority of my files located in the win10 filesystem then i've never had any major problems or performance issues.
understanding this tutorial
-
it is assumed you have a basic understanding of how to use the
command line (e.g. knowing what
sudois). unless otherwise specified,bashcode blocks are terminal commands. -
when you see text like
<this>(between a<and>), it means you need to replace it with your own input. e.g.<font>might need to becomeUbuntu Mono. -
if a step is just titled
~/file, you need to edit the file and then re-source it. accompanying code blocks contain the insert and if necessary detail where to add it. the recommended way of doing this with a.shor.fishfile is vianano <filename>(edits)source <filename>.

wsl
install wsl v1
- open powershell as admin and run:
- reboot computer.
- download ubuntu from the microsoft store.
-
open the ubuntu app. it will complete installation of itself, and
prompt you to create a user & password. (this password is what
you will need to put in when running a command with
sudo). - to ensure everything as up-to-date as possible, run:
- install missing packages commonly used by build tools:
0
1 Enable-WindowsOptionalFeature -Online -FeatureName Microsoft-Windows-Subsystem-Linux
0
Get Ubuntu - Microsoft Store en-AU
Ubuntu on Windows allows one to use Ubuntu Terminal and run Ubuntu command line utilities including bash, ssh, git, apt and many more. Note that Windows 10 S does not support running this app. Before installing Ubuntu on Windows or before the first run please open the Control Panel, visit Programs and Features' submenu Turn Windows features on or off and select Windows Subsystem for Linux.

0
1 sudo apt update -y && sudo apt upgrade -y
0
0
1 sudo apt install -y build-essential unzip
0
configure windows terminal
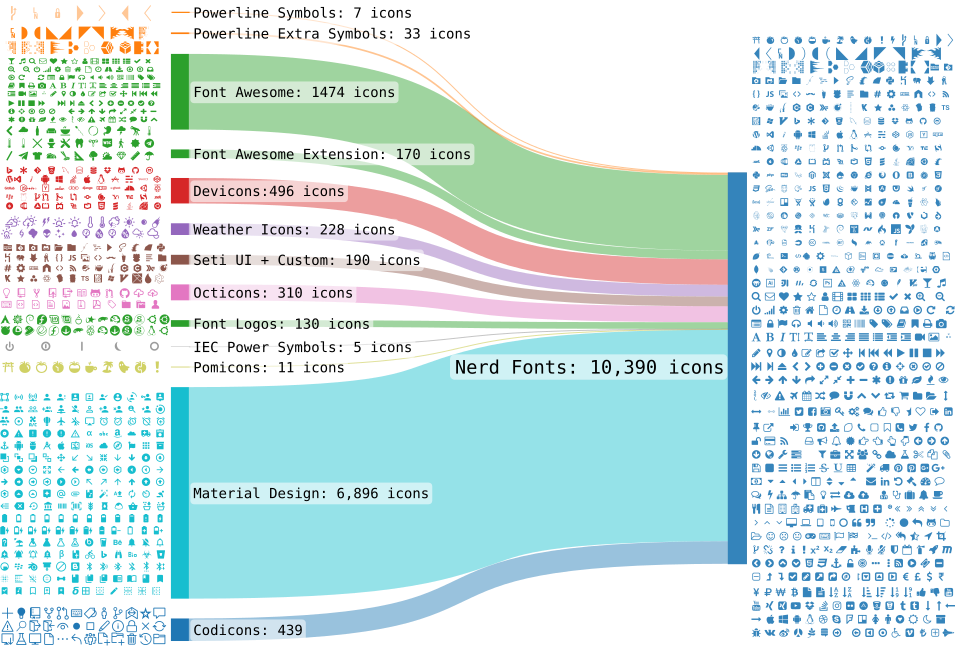
- download and install a nerd font to win10 (this is necessary for support of non-ascii glyphs/symbols, e.g. powerline). I personally use CaskaydiaCove Nerd Font (the patched version of Cascadia Code).
- download windows terminal from the microsoft store.
-
open settings with
CTRL + ,. find the profile with a source ofWindows.Terminal.Wsland add the following settings. (<username>refers to the ubuntu user you set up above,<font>should be the font you just installed: e.g.CaskaydiaCove Nerd Font). -
optional: to add a custom background image, add the following
to the profile. (
<image-source>may be a win10 filepath or a url.) -
recommended: add a preferred colour scheme to the
schemesarray in the general terminal setting, and reference it in yourWindows.Terminal.Wslprofile like so: -
recommended: add custom keybindings to the
keybindingsarray in the general terminal settings. these do not interfere with normal use of the shell / other purposes for those keybindings.
Nerd Fonts - Iconic font aggregator, glyphs/icons collection, & fonts patcher
1 2 3 4 5 6 7 8 9 10 11 12 13 14 15 16 17 18 19 20 21 22 23 24 25 26 27 28 29 30 31 32 33 34 35 36 37 38 39 40 41 42 43 44 45 46 47 48 49 50
 https://www.nerdfonts.com/
Get Windows Terminal (Preview) - Microsoft Store en-AU
The Windows Terminal is a new, modern, fast, efficient, powerful, and productive terminal application for users of command-line tools and shells like Command Prompt, PowerShell, and WSL. Its main features include multiple tabs, Unicode and UTF-8 character support, a GPU accelerated text rendering engine, and custom themes, styles, and configurations.

0
1 "startingDirectory": "\\\\wsl$\\Ubuntu\\home\\<username>",
2 "fontFace": "<font>",
0
0
1 "background": "#000",
2 "backgroundImageOpacity": 0.2,
3 "backgroundImageStretchMode": "uniformToFill",
4 "backgroundImage": "<image-source>",
0
0
1 "colorScheme": "<scheme.name>",
0
a large repository of colour schemes ported from iTerm2 can be found here:
Windows Terminal Themes
Web site created using create-react-app
0
 1 "keybindings": [
 2      {
 3        "command": "copy",
 4        "keys": ["ctrl+c"]
 5      },
 6      {
 7        "command": "paste",
 8        "keys": ["ctrl+v"]
 9      },
10      {
11        "command": "newTab",
12        "keys": ["ctrl+t"]
13      },
14      {
15        "command": "closeTab",
16        "keys": ["ctrl+w"]
17      }
18    ]
0
integration with win10
-
win10 files can be found in
/mnt/c. soft link to your regularly used folders. e.g. -
if you use vs code, it works very nicely with wsl. download the
extension
Remote - WSLon the win10 side, and that's it: to open something from ubuntu, just runcode <folder/file>. (every now and then running thecodecommand may cause a download/update).
0
1 ln -s "/mnt/c/Users/<win10-username>/OneDrive" ~/onedrive
0
mounting drives
-
to auto-mount external drives, add the following to
/etc/fstab(ensuring folders are created). - to manually/temporarily mount a drive:
0
1 <drive-letter>: /mnt/<drive-letter> drvfs defaults 0 0
2 # e.g. for the drive D
3 sudo mkdir /mnt/d
4 echo "D: /mnt/d drvfs defaults 0 0" | sudo tee -a /etc/fstab > /dev/null
0
0
1 sudo mount -t drvfs <drive-letter>: /mnt/<drive-letter>
2 # e.g. for the drive D:
3 sudo mkdir /mnt/d
4 sudo mount -t drvfs D: /mnt/d
0
fish
- install.
- to set fish as the default shell, run the following and then close/reopen the prompt:
~/.config/fish/config.fish-
optional: to slightly customise the terminal title - this
will update it to show as
[process] path(e.g.[nano] ~/wip-story.txt):~/.config/fish/config.fish -
optional: to replace the default "welcome to fish"
shown on open of a shell - will keep track of how many times
you've opened the shell, and will present you with a random
word:
~/.config/fish/config.fish
0
1 sudo apt-add-repository ppa:fish-shell/release-3
2 sudo apt update -y
3 sudo apt install fish
0
0
1 chsh -s `which fish`
0
0
1 # run open <location> to open it in the
2 # native win10 file explorer
3 alias open="explorer.exe"
0
0
1 # custom title
2 function fish_title
3   echo "["(status current-command)"] "
4   pwd
5 end
0
0
 1 # custom greeting
 2 function fish_greeting
 3   echo (date) >> $HOME/.config/prompt-count.txt
 4   set OPENED (wc -l $HOME/.config/prompt-count.txt | awk '{ print $1 }')
 5   if [ $OPENED = 1 ]
 6     echo "welcome. this is your first recorded opening of fish."
 7   else
 8     echo "aight. you've opened this" $OPENED "times (since" (head -n 1 $HOME/.config/prompt-count.txt)")."
 9   end
10   echo "it is currently" (tail -1 $HOME/.config/prompt-count.txt)"."
11   if not [ -e $HOME/.config/words.txt ]
12     echo -n "> downloading list of 466k+ english words to" $HOME"/.config/words.txt... "
13     wget -O $HOME/.config/words.txt -q https://raw.githubusercontent.com/dwyl/english-words/master/words.txt
14     echo "done!"
15   end
16   echo "do with this what you will: '"(shuf -n 1 $HOME/.config/words.txt)"'"
17   echo ""
18 end
0
theme installation: starship
- download and install.
~/.config/fish/config.fish~/.config/starship.toml
0
1 curl -fsSL https://starship.rs/install.sh | bash
0
0
1 # load the starship theme
2 starship init fish | source
0
0
1 # display single-line
2 add_newline = false
3 [line_break]
4 disabled = true
5
6 # nerd-font preset: copy/paste this from the page linked below
0
Starship: Cross-Shell Prompt
Here is a collection of community-submitted configuration presets for Starship. If you have a preset to share, please submit a PR updating this file! 😊 This preset doesn't change anything except for the symbols used for each module. If emojis aren't your thing, this might catch your eye!

keys
~/.config/fish/config.fish- set up git (with user details).
-
setup ssh (install on remotes with e.g.
ssh-copy-id, copying to github settings). commands assume you use the default save location. - setup gpg (copy pubkey export to github settings).
0
 1 # ssh-agent
 2 if [ -z (pgrep ssh-agent) ]
 3   eval (ssh-agent -c) > /dev/null
 4   set -Ux SSH_AUTH_SOCK $SSH_AUTH_SOCK
 5   set -Ux SSH_AGENT_PID $SSH_AGENT_PID
 6 end
 7 if [ (ssh-add -l) = "The agent has no identities." ]
 8   ssh-add
 9   echo ""
10 end
11
12 # gpg-agent
13 set -x GPG_TTY (tty)
0
0
1 git config --global user.email "<[email protected]>"
2 git config --global user.name "<Your Name>"
0
0
1 ssh-keygen -t rsa -b 4096 -C "<[email protected]>"
2 ssh-add
3 # exporting public key - will copy the output to your clipboard
4 cat ~/.ssh/id_rsa.pub | clip.exe
5 # checking that verification with github was successful
6 ssh -T [email protected]
7
8 # to reconfigure an existing git repo to use ssh
9 git remote set-url origin [email protected]:<user>/<project>.git
0
0
1 # copy the pub key ID when done
2 gpg --gen-key
3 # configure git to use the key
4 git config --global user.signingkey <ID>
5 git config --global commit.gpgsign true
6 # exporting public key - will copy the output to your clipboard
7 gpg --armor --export <ID> | clip.exe
0
n (node.js)
- install n:
- optional: install yarn:
0
1 curl -L https://git.io/n-install | bash -s -- -q -n
0
~/.config/fish/config.fish
0
1 # n-install
2 set -x N_PREFIX $HOME/n
3 if not contains $N_PREFIX/bin $PATH
4   set -xa PATH $N_PREFIX/bin
5 end
0
0
1 curl -sS https://dl.yarnpkg.com/debian/pubkey.gpg | sudo apt-key add -
2 echo "deb https://dl.yarnpkg.com/debian/ stable main" | sudo tee /etc/apt/sources.list.d/yarn.list
3 sudo apt update
4 sudo apt install --no-install-recommends yarn
0
~/.config/fish/config.fish
0
1 # yarn
2 if not contains (yarn global bin) $PATH
3   set -xa PATH (yarn global bin)
4 end
0
deno
install:
0
1 curl -fsSL https://deno.land/x/install/install.sh | sh
0
~/.config/fish/config.fish
0
1 set -x DENO_INSTALL $HOME/.deno
2 if not contains $DENO_INSTALL/bin $PATH
3   set -xa PATH $DENO_INSTALL/bin
4 end
0
python
- install:
~/.config/fish/config.fish
0
1 sudo apt install -y python3 python3-pip
0
0
1 # python
2 if not contains $HOME/.local/bin $PATH
3   set -xa PATH $HOME/.local/bin
4 end
5 alias py=python3
6 alias python=python3
7 alias pip=pip3
0
using pipenv for project environments
- install:
- usage: to install a pip package in the directory environment:
- usage: to install a requirements.txt collection of pip packages in the directory environment:
- usage: to run a command that has access to pip packages installed in the directory environment:
- usage: to launch a shell with the environment added to path, so all commands have access to packages.
0
1 pip install --user pipenv
0
0
1 pipenv install <pkg>
0
0
1 pipenv install -r requirements.txt
0
0
1 pipenv run <cmd>
2 # e.g. pipenv run py main.py
0
0
1 pipenv shell
0
php
- download/install apache2 and php7.
- set up composer (a php package manager).
- download following the command-line installer instructions.
- globalise the installation.
-
start apache. defaults to document root being in
/var/www/html, accessible via http://localhost/.
0
1 sudo add-apt-repository ppa:ondrej/php
2 sudo apt update -y
3 sudo apt install -y php7.1 apache2
0
Composer
To quickly install Composer in the current directory, run the following script in your terminal. To automate the installation, use the guide on installing Composer programmatically.
0
1 sudo mv composer.phar /usr/local/bin/composer
0
0
1 sudo service apache2 start
0
docker
- install https://hub.docker.com/editions/community/docker-ce-desktop-windows (on the win10 side).
-
in the app, enable the setting
Expose daemon on tcp://localhost:2375 without TLS. - install docker on the ubuntu side:
~/.config/fish/config.fish- create soft link to mount point.
- check it works (win10 docker desktop must be running).
0
 1 # update package lists and install dependencies
 2 sudo apt update -y
 3 sudo apt install -y \
 4     apt-transport-https \
 5     ca-certificates \
 6     curl \
 7     software-properties-common
 8 # add and verify docker's key
 9 curl -fsSL https://download.docker.com/linux/ubuntu/gpg | sudo apt-key add -
10 sudo apt-key fingerprint 0EBFCD88
11 # add stable channel & install
12 sudo add-apt-repository \
13    "deb [arch=amd64] https://download.docker.com/linux/ubuntu \
14    (lsb_release -cs) \
15    stable"
16 sudo apt update -y
17 sudo apt install -y docker-ce
18 pip3 install --user docker-compose
19 # allow user to run docker
20 sudo usermod -aG docker $USER
0
0
1 # docker
2 if not contains $HOME/.local/bin $PATH
3   set -xa PATH $HOME/.local/bin
4 end
5 set -x DOCKER_HOST tcp://localhost:2375
0
0
1 sudo ln -s /mnt/c /c
0
0
1 docker info
2 docker-compose --version
0
gui
-
first, install vcxsrv on win10. it will show up as an app called
XLaunch. ~/.config/fish/config.fish- run dbus.
VcXsrv Windows X Server
Download VcXsrv Windows X Server for free. Windows X-server based on the xorg git sources (like xming or cygwin's xwin), but compiled with Visual C++ 2012 Express Edition. Source code can also be compiled with VS2008, VS2008 Express Edition and VS2010 Express Edition, although current project and makefile are not fully compatible anymore.
0
1 # stream to xserver
2 set -x DISPLAY :0
3 set -x LIBGL_ALWAYS_INDIRECT 1
0
0
1 sudo apt install dbus-x11
2 sudo systemd-machine-id-setup
3 sudo service dbus start
0
example app: webstorm
- download and install.
-
add shortcut -
~/.oh-my-zsh/custom/init.zsh -
have the xserver running. if it isn't already, run
XLaunch(on win10) with the default configuration (just keep hittingEnter). - launch by running the command
webstorm.
0
1 wget [https://download.jetbrains.com/webstorm/WebStorm-2019.3.3.tar.gz](https://download.jetbrains.com/webstorm/WebStorm-2019.3.3.tar.gz)
2 sudo tar xfz WebStorm-*.tar.gz -C /opt/
0
0
1 # webstorm
2 alias webstorm="/opt/WebStorm-193.6494.34/bin/webstorm.sh"
0
xfce4 desktop
- install.
- fix permissions.
-
launch. to close: do
ALT + F4, then navigate back to the terminal window and doCTRL + C.
0
1 sudo apt install -y xfce4
0
0
1 sudo chown -R $USER:$USER ~
0
0
1 sudo service dbus start && /mnt/c/Program\ Files/VcXsrv/vcxsrv.exe -ac -wgl -fullscreen -dpms & startxfce4
0